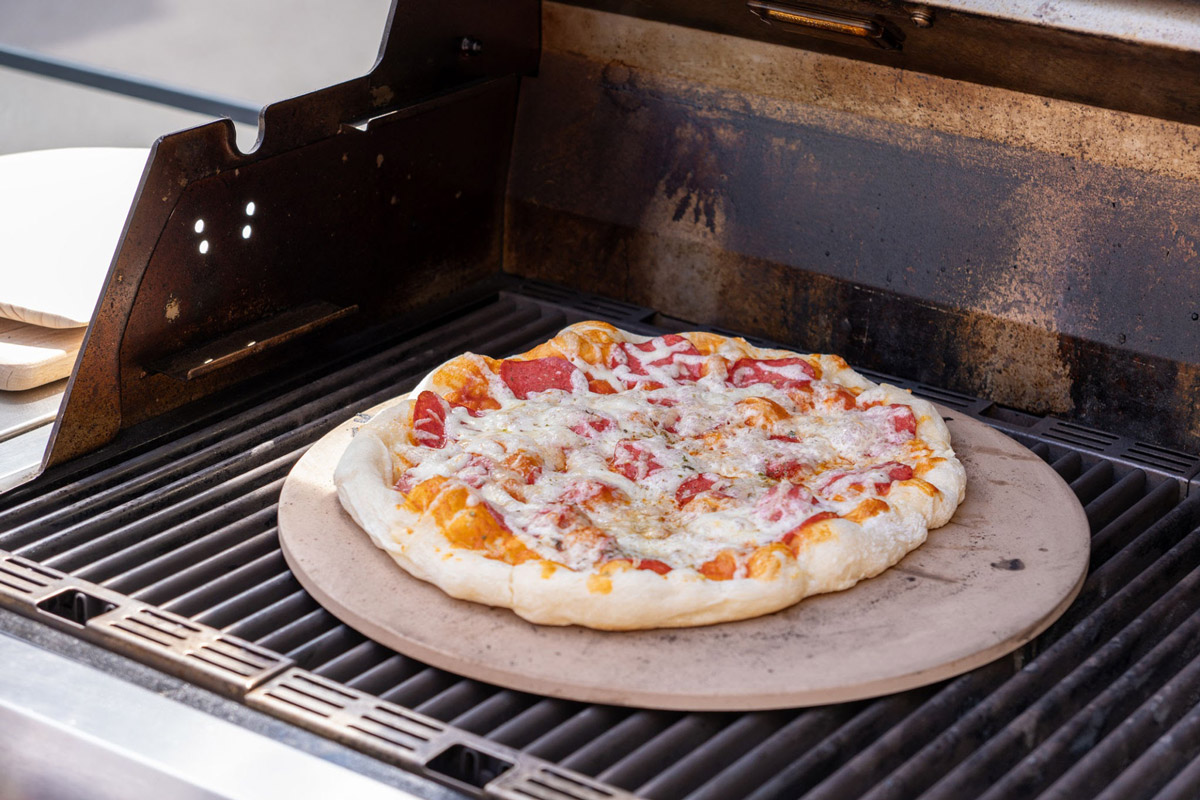
Few culinary rewards match the satisfaction of sliding a perfectly golden, intensely crispy pizza out of your own kitchen oven. Many home cooks struggle with soggy centers, floppy slices, or pale dough, assuming that restaurant quality requires a massive brick oven. The truth is simpler than you think. You do not need a commercial kitchen to achieve that satisfying crunch. You just need to master a few basic principles of moisture control and heat transfer.
To make a crispy pizza crust at home, you must bake it at the highest possible oven temperature, which is typically between 500 degrees Fahrenheit and 550 degrees Fahrenheit. You must also use a preheated baking surface like a pizza stone or steel, and parbake the bare dough for five minutes before you ever add your sauce or cheese. This high heat mimics the aggressive environmental dynamics of a commercial deck oven. By instantly transferring intense energy to the base of the dough, you force water out of the mixture rapidly. This flashes off the moisture and crisps the bottom of the crust before your toppings have a chance to burn.
The Ultimate Thin and Crispy Pizza Recipe
This reliable framework is designed specifically for standard residential environments. It cuts out unnecessary complexity while maximizing the physical reactions that create a deeply caramelized, rigid structure.
Recipe Overview
- Prep Time: 20 minutes (plus 1 hour for rising)
- Cook Time: 15 minutes
- Difficulty: Easy
- Yield: 2 12-inch thin crust pizzas
Ingredients
- 2 cups (250g) all-purpose flour or bread flour
- 2 teaspoons active dry yeast
- 1 teaspoon fine sea salt
- 1/2 teaspoon granulated sugar
- 3/4 cup (180ml) warm water (aim for 105 degrees Fahrenheit to 110 degrees Fahrenheit)
- 1 tablespoon olive oil (plus a little extra to coat your rising bowl)
- 1 tablespoon cornmeal (used exclusively for dusting your baking surface)
Step-by-Step Instructions
Follow these chronological steps closely. Skipping the preheating phases or rushing the initial bake will compromise the final crunch of your pizza.
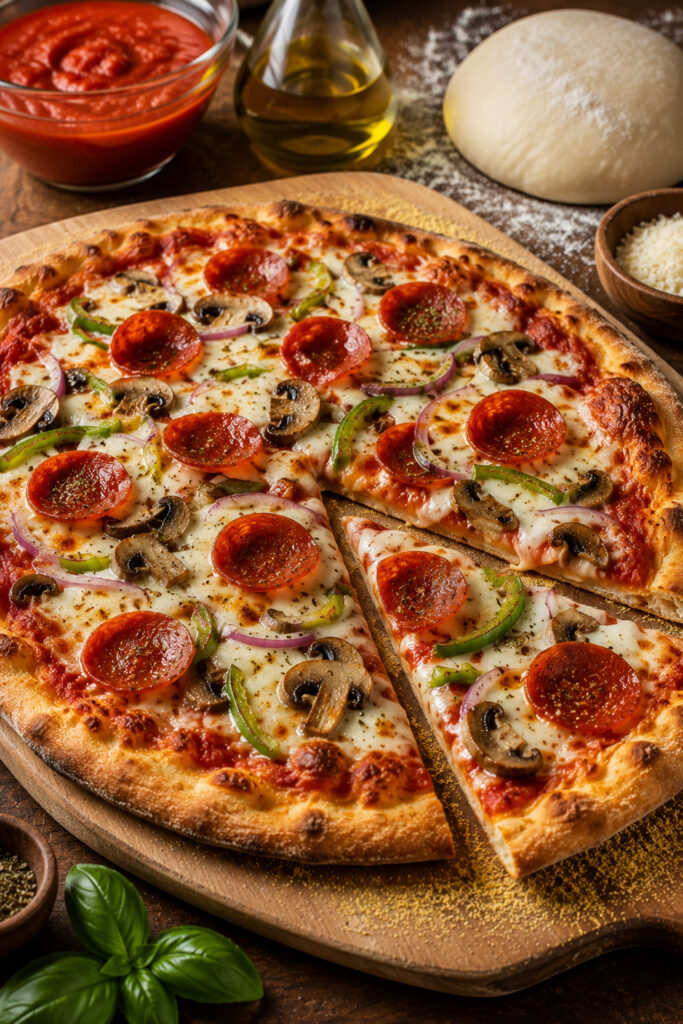
1. Activate the Yeast: 5 minutes.
Pour your warm water into a small bowl, then dissolve the granulated sugar and active dry yeast into it. Let the mixture sit undisturbed for roughly 5 minutes. You will know it is ready when it becomes visibly frothy, foamy, and aromatic, which proves the yeast is alive and active.
2. Mix and Knead the Dough: 8 minutes.
Whisk your flour and fine sea salt together in a large mixing bowl to distribute the salt evenly. Pour in the foamy yeast mixture along with the tablespoon of olive oil. Stir the ingredients with a sturdy wooden spoon until a shaggy, cohesive dough forms. Turn the dough out onto a lightly floured countertop. Knead the mass firmly for about 5 minutes until it transforms into a smooth, elastic, and slightly tacky ball.
3. Rest and Rise: 1 hour.
Shape your kneaded dough into a tight, smooth ball. Place it inside a large, lightly oiled mixing bowl, turning the dough once to coat its surface. Cover the top of the bowl securely with a clean kitchen towel or plastic wrap. Set it in a warm, draft-free spot in your kitchen for 1 hour, or until the dough has successfully doubled in physical size.
4. Fire Up Your Oven: 45 to 60 minutes.
Position a pizza stone, a heavy baking steel, or a large inverted metal baking sheet on the upper or middle rack of your oven. Turn your oven to its absolute highest setting, which is ideally between 500 degrees Fahrenheit and 550 degrees Fahrenheit (260 degrees Celsius to 285 degrees Celsius). Let the oven preheat for a full 45 to 60 minutes. This extended time ensures the stone absorbs maximum thermal energy, which is critical for an instant crisping effect.
5. Roll, Stretch, and Prick: 10 minutes.
Gently punch down your risen dough and divide it into two equal portions. On a lightly floured work surface, use a rolling pin or the palms of your hands to stretch a portion into a 12-inch circle that is roughly 1/8-inch thick. Use a dinner fork to prick the entire center surface of the stretched round. This process, called docking, prevents massive steam bubbles from warping your crust during the bake.
6. The Parbake (The Secret Step): 4 to 5 minutes.
Dust a pizza peel, a flat piece of sturdy cardboard, or a sheet of parchment paper generously with your cornmeal. Slide your rolled-out, bare dough onto it. Carefully transfer this naked dough directly onto the roaring hot pizza stone inside your oven. Bake the plain dough for 4 to 5 minutes. When you open the oven, the dough should look completely matte, dry, and slightly set, though not yet browned.
7. Top and Final Bake: 7 to 10 minutes.
Carefully pull the parbaked crust from the oven. Spread a thin, even layer of pizza sauce over the surface, followed by low-moisture mozzarella cheese and your chosen toppings. Do not overload the pie. Excessively heavy toppings release water as they cook, which pools in the center and ruins your hard work. Slide the pizza back onto the hot stone. Bake for an additional 7 to 10 minutes until the edges are beautifully golden-brown and the cheese is bubbling intensely.
Pro-Tips for Maximizing Texture
Understanding the science of your ingredients helps you adjust your technique for even better results.
Why Flour Choice Matters
You can use all-purpose flour for a classic, slightly tender crunch. However, if you prefer a structural snap that retains a bit of internal chew, swap it out for high-protein bread flour. The higher gluten content in bread flour creates a stronger elastic network. This allows you to stretch the dough incredibly thin without tearing, resulting in a sturdier undercarriage.
The Role of Low-Moisture Cheese
Fresh mozzarella stored in water is wonderful for traditional styles, but it is the enemy of a truly crispy home crust. Standard home ovens cannot evaporate water fast enough to keep up with the moisture released by wet cheese. Stick to low-moisture, whole-milk mozzarella blocks that you grate yourself. This ensures you get a beautiful, classic cheese pull without creating a soggy pool in the middle of your dinner.
Help Me Customize Your Baking Plan
Every home kitchen setup is unique, and subtle adjustments can elevate your specific pizza game. If you want to fine-tune your process to get the absolute best results, tell me a little more about your preferences:
- What baking gear are you using? Are you cooking with a dedicated pizza stone, a heavy cast-iron skillet, or a standard metal baking sheet?
- What style do you prefer? Do you want a brittle, cracker-thin style, or do you love a chewy Neapolitan style that simply features a crisp bottom?
- What is your timeline? Do you have 24 to 48 hours to let the dough ferment slowly in the refrigerator to build deep flavor, or do you need a quick, reliable same-day crust tonight?
Sharing these details makes it easy to adjust the dough hydration levels, fermentation times, and rack positioning to perfectly match your kitchen environment.