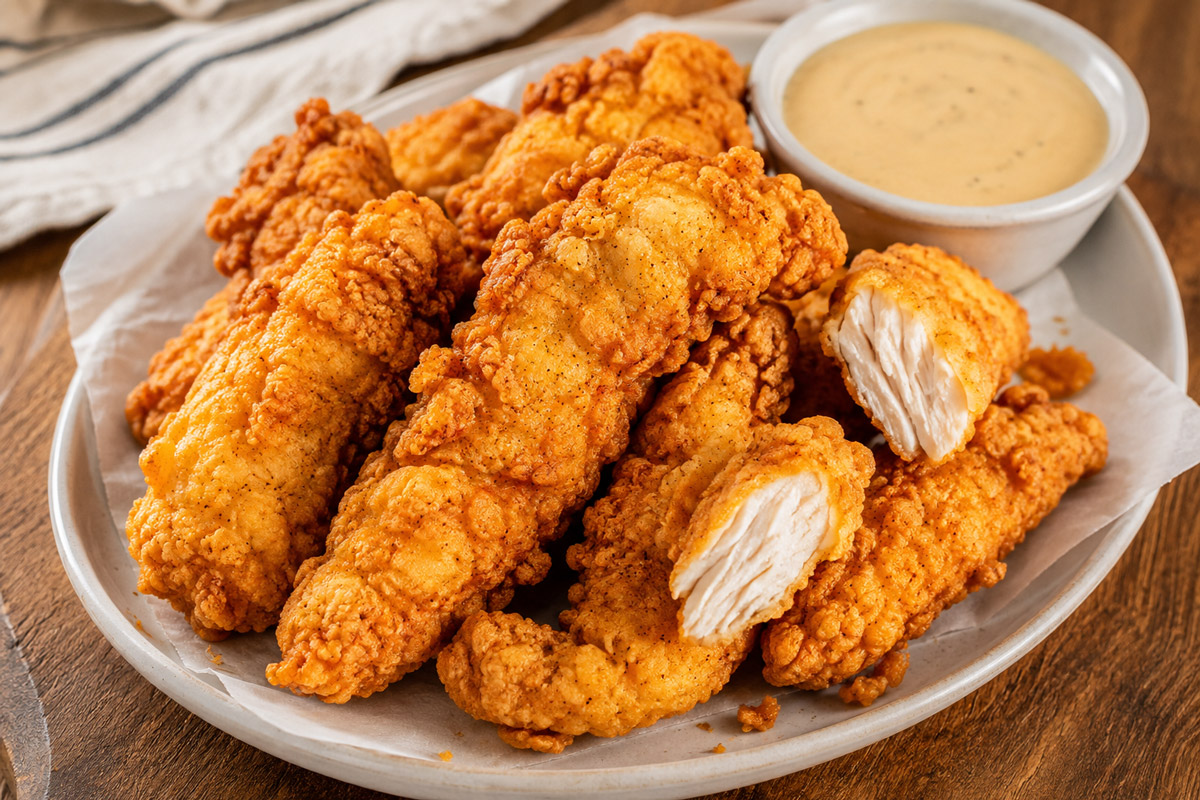
Making restaurant-quality chicken tenders at home is easier than you think, but achieving that signature ultra-crispy crust and tender, juicy center requires a bit of culinary science. The secret lies in a traditional buttermilk marinade combined with a double-dredging technique that creates deep, craggy ridges designed to lock in flavor and crunch.
Whether you are cooking for a weeknight dinner, prepping game-day snacks, or feeding hungry kids, this homemade buttermilk chicken tenders recipe yields perfect results every single time.
Why Buttermilk Makes the Difference
Chicken breast meat, especially thin cuts like tenderloins, can easily dry out during high-heat cooking. Buttermilk solves this problem in two distinct ways:
- Gentle Tenderization: Buttermilk contains mild lactic acid. Unlike harsh acidic ingredients such as lemon juice or vinegar, which can make meat rubbery if left too long, lactic acid gently breaks down muscle fibers without destroying the texture.
- Superior Coating Adhesion: The natural thickness and viscosity of buttermilk allow the flour mixture to cling evenly across the entire surface of the chicken, ensuring no bald spots during frying.
Recipe Overview
| Detail | Info |
| Prep Time | 20 minutes |
| Marinating Time | 2 to 4 hours (up to 24 hours) |
| Cook Time | 15 minutes |
| Total Time | ~3 hours 35 minutes |
| Servings | 4 servings (approx. 3-4 tenders per person) |
| Difficulty | Easy / Intermediate |
Ingredients You Will Need
To achieve the best flavor profile, divide your ingredients between the buttermilk liquid base and the dry seasoned flour dredge.
The Buttermilk Marinade
- 2 pounds chicken tenderloins: Trimmed of excess tendon tissues. You can also use boneless, skinless chicken breasts sliced into 1-inch strips.
- 2 cups full-fat buttermilk: Provides the acidity and rich flavor base.
- 1 tablespoon garlic powder: Adds savory depth.
- 1 tablespoon onion powder: Enhances sweet, aromatic notes.
- 2 tablespoons sweet paprika: Builds color and a subtle warm flavor.
- 1 tablespoon kosher salt: Essential for seasoning the meat thoroughly.
- 1 teaspoon freshly cracked black pepper: Adds mild warmth.
The Crispy Dredge & Breading
- 2 cups all-purpose flour: The structural foundation for a crispy crust.
- 1 tablespoon baking powder: Releases tiny carbon dioxide bubbles when hit with hot oil, resulting in a lighter, extra-shatteringly crisp texture.
- 2 teaspoons garlic powder: Reinforces savory garlic flavor in the outer crust.
- 2 teaspoons onion powder: Complements the marinade base.
- 2 teaspoons sweet or smoked paprika: Gives the cooked crust a rich golden-red hue.
- 2 teaspoons black pepper: Ensures the breading is seasoned end-to-end.
- High-heat frying oil: Peanut oil, canola oil, or vegetable oil works best due to high smoke points (around 400°F to 450°F).
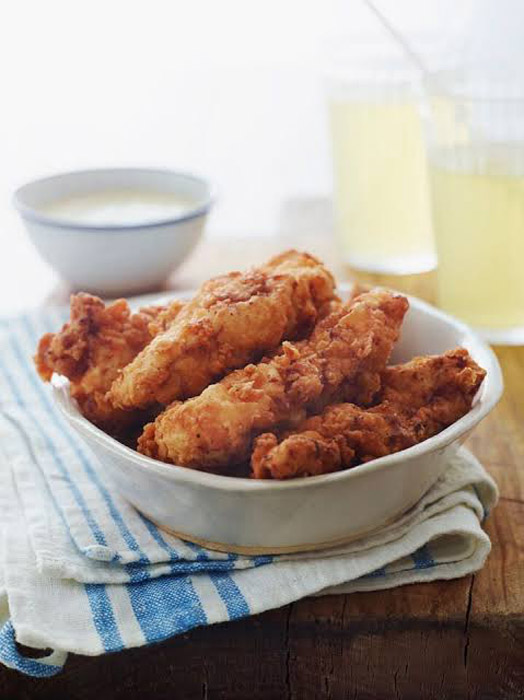
Step-by-Step Cooking Guide
Follow these sequential steps closely to maximize crispiness and maintain oil temperature control.
Step 1: Marinate the Chicken
In a large mixing bowl, whisk together buttermilk, garlic powder, onion powder, paprika, salt, and black pepper until well combined. Submerge the raw chicken tenderloins completely in the liquid. Cover the bowl tightly with plastic wrap and refrigerate for at least 2 to 4 hours. For maximum tenderness, marinate overnight (up to 24 hours).
Step 2: Mix the Dry Flour Coating
In a wide, shallow baking dish or pie pan, whisk together the all-purpose flour, baking powder, garlic powder, onion powder, paprika, and black pepper until uniformly distributed.
Step 3: The “Shaggy Clump” Trick
Take 2 to 3 tablespoons of the liquid buttermilk marinade from your chicken bowl and drizzle it directly into the dry flour mixture. Use a fork to swirl and lightly toss the mixture. This step creates small, shaggy dough clumps throughout the flour. As you dredge the chicken, these clumps bind to the surface and transform into ultra-crispy, golden ridges when fried.
Step 4: Dredge and Coat
Lift one chicken tenderloin from the marinade, allowing excess liquid to drip off briefly (do not shake it completely dry). Place the tender directly into the flour mixture. Turn to coat and press down firmly on both sides using your hands so the flour and shaggy bits adhere tightly. Transfer the breaded tender to a clean plate or baking sheet, and repeat with the remaining tenders. Let the breaded chicken rest for 5 minutes before frying to allow the flour to hydrate and stick firmly to the meat.
Step 5: Heat the Oil
Pour neutral frying oil into a heavy cast-iron skillet or large Dutch oven until it reaches a depth of about 2 inches. Set over medium-high heat and heat until a deep-fry thermometer reads 350°F (175°C). If you do not have a thermometer, drop a tiny pinch of flour into the oil; if it sizzles vigorously immediately without burning, the oil is ready.
Step 6: Fry in Small Batches
Carefully lay 4 to 5 tenders into the hot oil, dropping them away from your body to prevent hot splatters. Do not overcrowd the pan, as adding too much cold chicken at once drops the oil temperature significantly, resulting in greasy, soggy breading. Fry for 3 to 4 minutes per side, turning once with tongs, until the exterior turns a deep golden brown and an instant-read thermometer inserted into the thickest part reads 165°F (74°C).
Step 7: Drain on a Wire Rack
Transfer the fried tenders immediately to a wire cooling rack fitted over a rimmed baking sheet. Avoid draining them on paper towels. Paper towels trap steam underneath the chicken, which softens the bottom breading and ruins the crispness. Sprinkle with a tiny pinch of sea salt immediately while hot.
Alternative Cooking Methods
If you prefer to skip deep frying, you can achieve fantastic results using an air fryer or a conventional oven.
Air Fryer Method
- Preheat your air fryer to 400°F (200°C) for 5 minutes.
- Dredge the marinated chicken tenders in the flour mixture as instructed above.
- Lightly spray the air fryer basket with non-stick cooking spray and lay the tenders in a single layer without overlapping.
- Generously spray the top of the breaded tenders with cooking oil spray until no dry white flour spots remain visible.
- Air fry for 10 to 12 minutes, flipping halfway through and spraying any dry spots with a little extra oil spray, until golden and cooked to 165°F internally.
Oven-Baked Method
- Preheat your oven to 425°F (220°C). Fit a wire baking rack inside a large rimmed baking sheet and coat it lightly with cooking spray.
- Arrange the breaded tenders on the wire rack in a single layer.
- Spray the tops generously with neutral cooking oil spray.
- Bake for 18 to 22 minutes, turning the tenders halfway through, until the crust is crisp and the internal temperature reaches 165°F.
Easy 3-Minute Dipping Sauces
No chicken tender meal is complete without an exceptional dipping sauce. Here are three quick homemade sauces you can whip up while your oil heats:
1. Classic Southern Comeback Sauce
- Ingredients: 1/2 cup mayonnaise, 2 tablespoons ketchup, 1 tablespoon yellow mustard, 1 teaspoon hot sauce, 1/2 teaspoon garlic powder, 1/2 teaspoon Worcestershire sauce.
- Instructions: Whisk all ingredients in a small bowl until smooth. Chill before serving.
2. Creamy Honey Mustard
- Ingredients: 1/2 cup mayonnaise, 2 tablespoons yellow or Dijon mustard, 2 tablespoons honey, 1 teaspoon lemon juice.
- Instructions: Stir ingredients together until creamy and balanced between sweet and tangy.
3. Homemade Garlic Ranch
- Ingredients: 1/3 cup mayonnaise, 1/3 cup sour cream, 2 tablespoons buttermilk, 1/2 teaspoon dried dill, 1/2 teaspoon onion powder, 1/2 teaspoon garlic powder, salt and black pepper to taste.
- Instructions: Whisk until smooth and adjust buttermilk amount for desired thickness.
Storage and Reheating Tips
- Refrigeration: Store leftover cooked chicken tenders in an airtight container lined with a paper towel for up to 3 to 4 days.
- Freezing: Allow cooked tenders to cool completely on a wire rack. Arrange them in a single layer on a parchment-lined baking sheet and freeze for 1 hour until solid. Transfer frozen tenders to a zip-top freezer bag and store for up to 2 months.
- Reheating for Maximum Crunch: Avoid using the microwave, as it makes the breading soggy. Instead, reheat tenders in a 375°F (190°C) oven or air fryer for 5 to 8 minutes until heated through and crisp.
Frequently Asked Questions
Can I make buttermilk at home if I don’t have any?
Yes. Mix 2 cups of whole milk with 2 tablespoons of freshly squeezed lemon juice or white vinegar. Let it sit at room temperature for 10 minutes until it looks slightly curdled and thickened. Use it as a direct 1:1 substitute for commercial buttermilk.
How long should you marinate chicken tenders in buttermilk?
A minimum of 2 to 4 hours yields noticeable tenderness. You can leave chicken tenders in buttermilk for up to 24 hours in the refrigerator. Do not exceed 24 hours, as prolonged exposure to lactic acid can eventually degrade the meat fibers and cause a mushy texture.
Why is my chicken tender breading falling off?
Breading typically falls off due to three common mistakes:
- The chicken was too wet when entering the flour. Allow heavy excess buttermilk to drip off before dredging.
- The breading was not pressed firmly into the meat. Always press down with your hands during dredging.
- The chicken was flipped too early or moved around excessively in the frying pan. Let the crust set undisturbed for at least 90 seconds after dropping into hot oil.